|
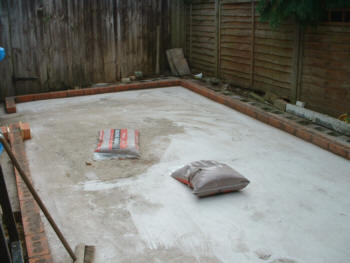
The panels are placed on a layer of bricks. This prevents rotting of the panel bases. |
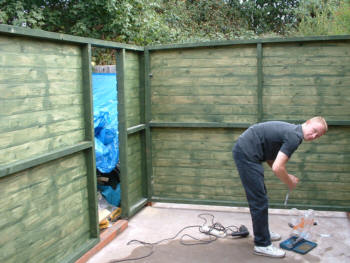
Door & end sections. These two sections had to be bolted up & slid into position due to the proximity of the back fence, |
|
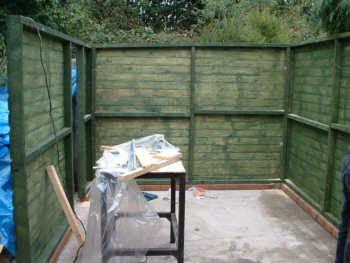
Three sections assembled. |
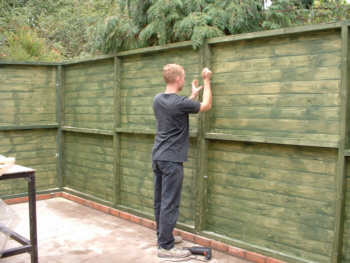
A willing (?) helper is a must in lifting these panels & holding them in position for drilling the holes for the coach bolts which hold them all together. |
|
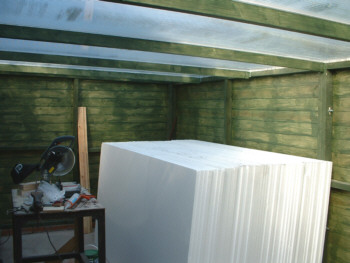
Roof assembly & polystyrene insulation ready to fit. A total of 48 - 8' x 4' sheets 1" thick will be used. |
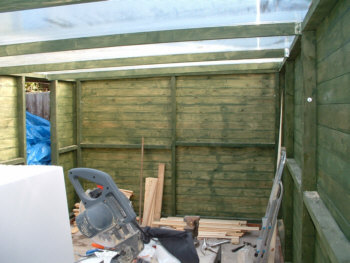
Opposite end showing roof assembled. Note joist hanger plates to hold roof supports in place. The weight of the roof will be supported by the centre stand. |
|
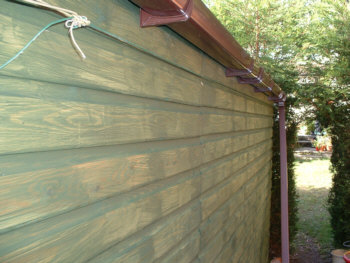
Guttering work in progress. From the hidden garden to civilisation. |
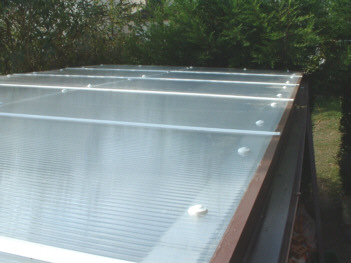
Roof from above showing the 1·05 metre sheets in width held together by glazing bars & held down by screw cap fixings. |
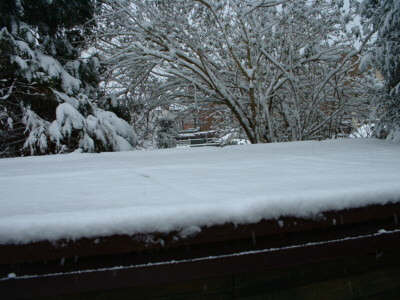
The roof after overnight snow
8th Feb 2007. Demonstrates the insulation
capabilities of the Polycarbonate triple wall roof sections. Inside the temperature
was 28°C.
Well worth the extra expense in roofing the fish house.
|
Laying the Roof.
Polycarbonate sheets were used for the roof. These were 16 mm thick & triple walled which is enough to stop snow melting completely. I have used these in previous fish houses without problems. Sheets should be layed on good carpet underlay or polystyrene. The sheets are tied together with glazing bars. A small gap should be allowed for expansion. Screw buttons hold the sheets down. Again, a larger hole should be given to allow for expansion. The open ends (top & bottom) are blanked off with plastic end stops. The top end is small but the gutter end has a larger drop to feed the gutter system. |